
As I add functionality to the program I have started a second menu to provide more space to place the controls. When you have loaded the image to draw, you can activate the Advanced menu by pressing the A key. If the advanced menu is showing, pressing A will hide it.
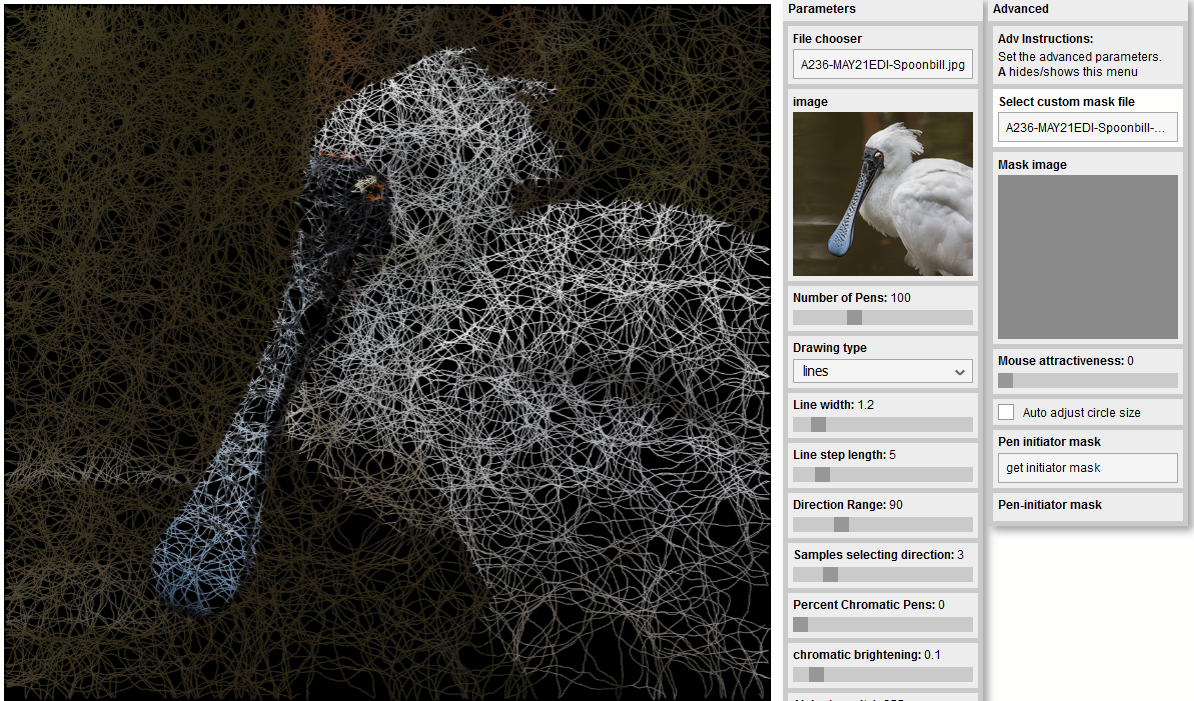
The algorithm used for movement of the “pen” as it draws, is to select a number of possible destinations at Line step length from the current point in the general direction the pen is currently moving (adjusted by the Samples selecting direction and Direction Range parameters). To allow more flexibility, you can substitute a different image to provide the brightness levels for this algorithm. Here are some examples: first with the default original image; second with a plain gray image; third with an edit of the original image that emphasises some of the edges and textures.

The Mouse Attractiveness setting in line drawing modep allows you to direct where the pens move. If you set a high value for this parameter and then click on the drawing as it develops, the pens will be drawn towards the mouse cursor location. You can use this to dynamically increase the density of drawn lines to different parts of the image.
Auto adjust circle size works in circle drawing mode. This will reduce the size of circles drawn on the image depending on the amount of detail in the area around the circle centre.

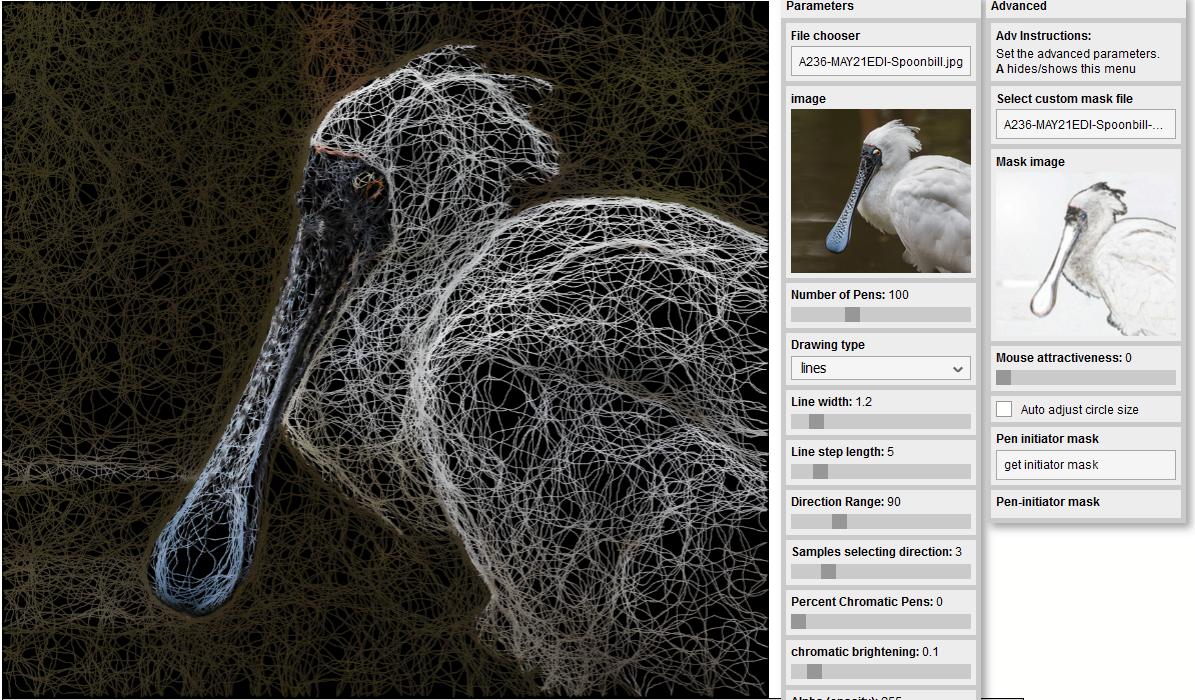
Another way to focus line drawing is to apply a Pen initiator mask. This is an image where brighter areas will preferentially get pens starting when you reset a drawing. Black areas on the pen initiator mask image will get few or no pens, though the pens may wander into those areas as the drawing develops.
