Mist can enhance some images, and adding a misty effect in Photoshop is not difficult. Here is one approach, based on the method demonstrated by Sharon Prenton Jones at a WCC workshop, Jan 2024. In this work through I am using Photoshop, but the same principles apply with most similar alternatives that provide for layered images.
Note that there are many alternative approaches, such as using a custom brush to apply a mist effect.
An example – a base layer
Let’s do this with an example. This is a quick edit, not meant to be perfect, but to show the process. I leave it to the reader to perfect the process on their own images.
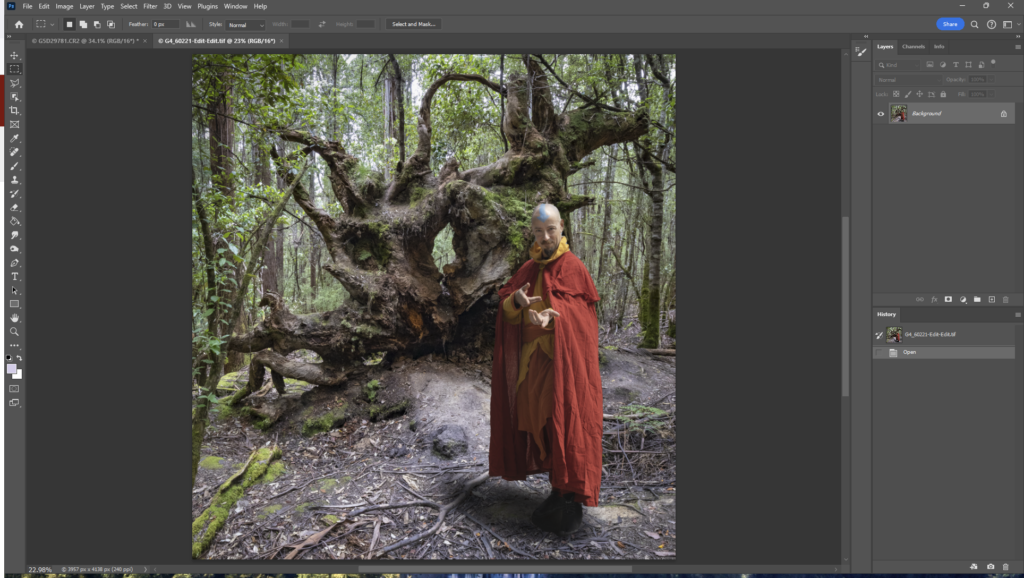
Here is a starting image (here I have composited the wizard onto the forest and added a shadow to “ground” the person:
Add a cloud layer
First, add a new layer (Shift-Ctrl-N). Change the name to “Mist 1”, so you don’t lose track of what your layers represent. Maybe reduce the zoom a couple of steps (Ctrl-minus) in preparation for the next step.
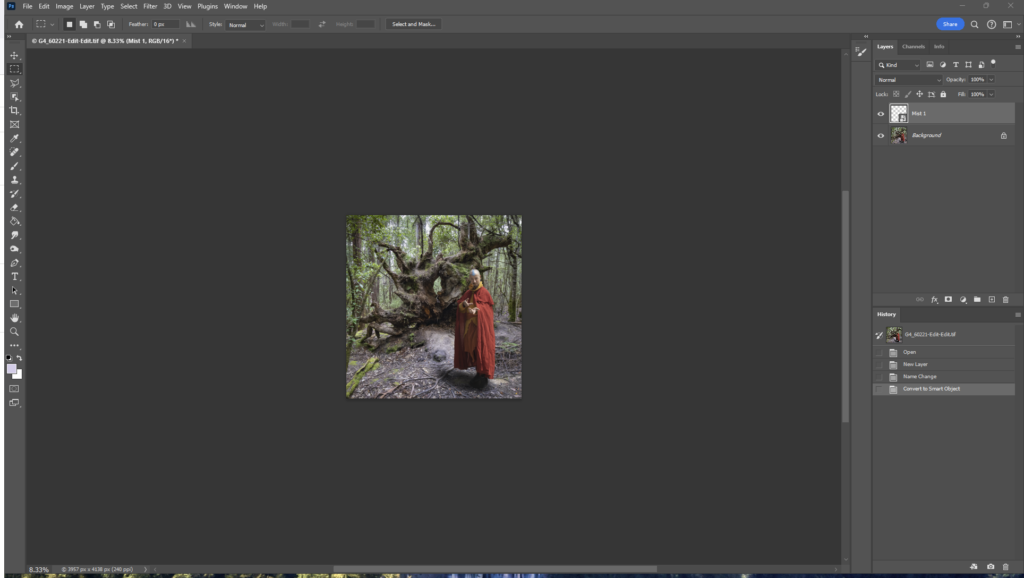
Now add a “cloud” pattern. In Photoshop you can use menu: Filter>Render>Clouds. This will add a speckled black and white pattern over your background layer. Alternatively, use your own starting pattern (see below).
Transform and adjust the starting cloud pattern to suit your base image
Use Transform (Ctrl-T) and drag the corners out to spread out the pattern (this affects how granular your mist effect looks).
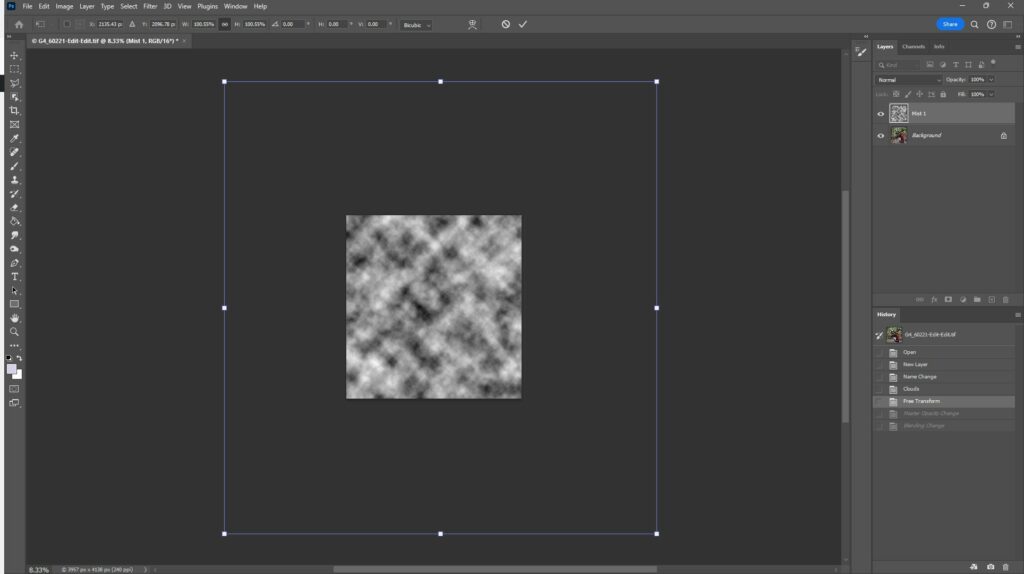
Press Enter to complete the transform. Set the layer opacity to a lower number – I have set to 45% here as a starting point, and set the blend mode to screen

Refine your mist effect with additional layers and masking
Now we are getting the start of a mist effect, but we need to refine it. The further away things are, the thicker the mist effect, and probably there is more mist lower down than higher up. This is easy to achieve using layer masks (and perhaps more mist layers to be added). So, add a layer mask and paint with black (use a soft brush with low flow) on the mask to reduce or remove some of the mist – for example paint over the wizard; a little less on the tree root … closer things like these and the foreground ground will need less mist to be convincing. Perhaps add a second mist layer to add an extra depth… Maybe add another layer masked at the top to add a bit of low mist over the ground … Tweak the opacity of the layers… have a play. Try with different starting patterns. I don’t think Photoshop’s render>clouds ideally mimics real mist (see below for an alternative approach), but if you do use it, try stretching the pattern laterally using Transform; maybe try a linear blur or other distortions; using multiple layers to build up the mist effect better reflects reality – but use masking to restrict some layers to the far background whilst others will reflect closer mist with appropriate masking; alter the granularity/texture of the further mist layers – further away should have smaller texture than close up; tweak the opacity of the layers to get the effect you want. The example below is far from perfect, as it was made as a quick example to demonstrate the technique.
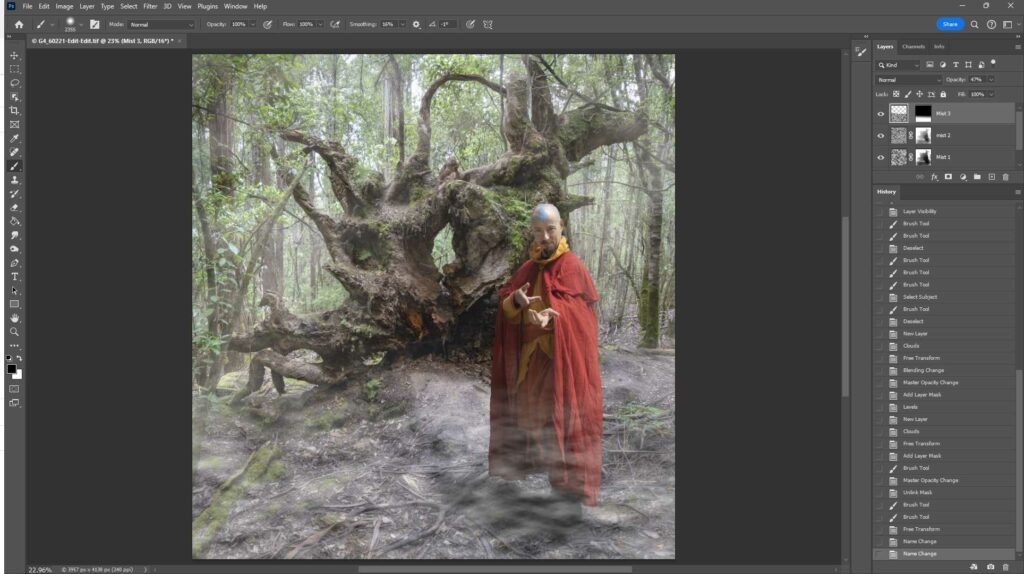
Here is a before/after of the image – slide the middle bar left and right to change what you see.


Study mist so you can accurately mimic it
Spend some time in misty places to observe how mist looks as it wraps round objects and recedes into the distance. There are different sorts of mist: think of the thin, ground hugging mist layer over a sports ground on a crisp morning; or the dense, featureless mist as a cloud envelops you on a mountain peak; or thin tendrils of mist weaving through a forest on a crisp winter morning. Some mists hug the ground; other times the mist will envelop the tree tops but leave the ground clear; and sometimes the mist is everywhere. What sort of mist do you want to generate? I have put some (not exhaustive) examples below.
Experiment with alternative cloud images
Experiment with different starting points. Above I have suggested using Photoshop’s Filter>Render>clouds. Try tweaking this by stretching the pattern horizontally, distorting the pattern using warp, liquefy etc to get a different texture (probably more like real mist).
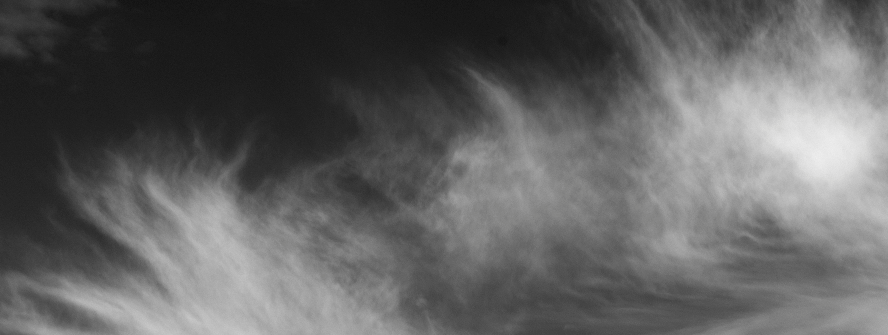
Maybe take a picture of wispy cirrus clouds (convert to B&W and adjust the conversion so that the blue sky becomes black with grey-white clouds – the black background will disappear when the layer is later set to blend-mode screen leaving you with just the grey to white cloud pattern forming the misty overlay). Here is an example – I edited a cloud picture, convert to B&W with blue luminance dropped, then used curves to push the open sky to black and the clouds shades of grey up to white.
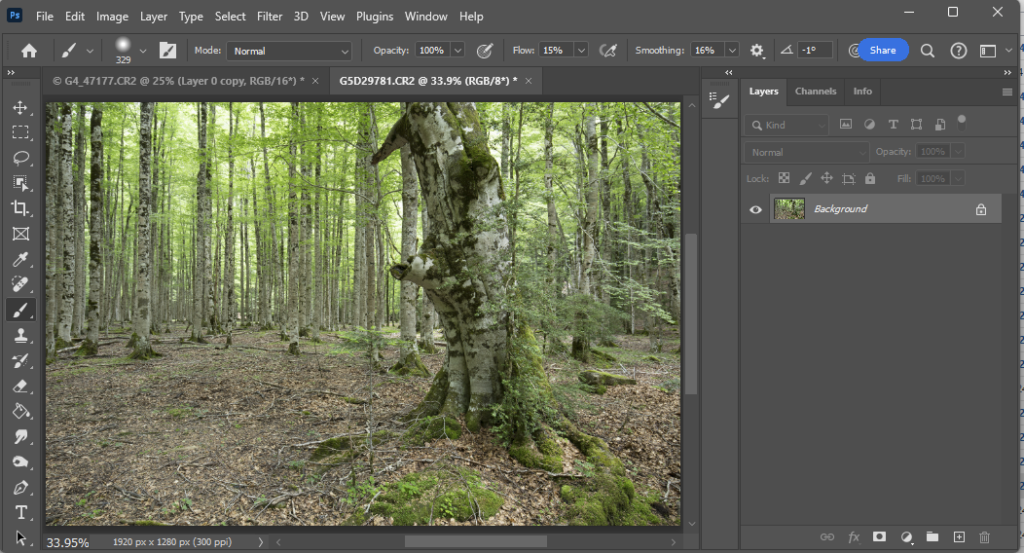
Then I added this over my forest image as 3 layers (Blend mode Screen; and I started with opacity 30% in this example; adjust to suit your needs depending on the particular images you use) for foreground, middle and distance, each at a different scale, (transform and drag corners for size, flip horizontally for one or more, move around to put the cloud overlay at suitable places so the 3 layers are all different in size and position). I masked the layers. Distance got the foreground ground and closer tree removed; middle got the tree and a little of the nearest ground masked; foreground mist has no mask. To be tidy I grouped the 3 mist layers into a group, and all the layers were given appropriate names so if I come back another time and want to play with the layers, I will know what all the layers represent. Save as a layered TIFF or PSD file, so you preserve all the layers for future edits.
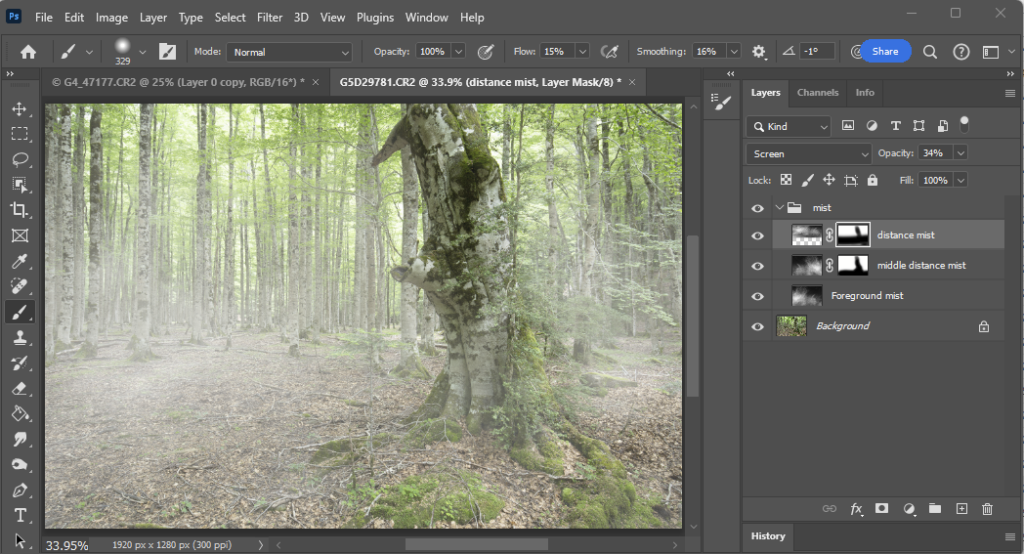
If you want to tweak the appearance, there are a few options. Adjust the opacity to increase the density of the mist (you can have different opacity for each layer if that suits your needs); click the chain symbol between the layer image and layer mask to decouple the mask from the image. Now you can use Transform (Ctrl-T) to move/resize/distort the mist image layer without altering the layer masking. See how the mist appearance changes as you move or alter the mist image.
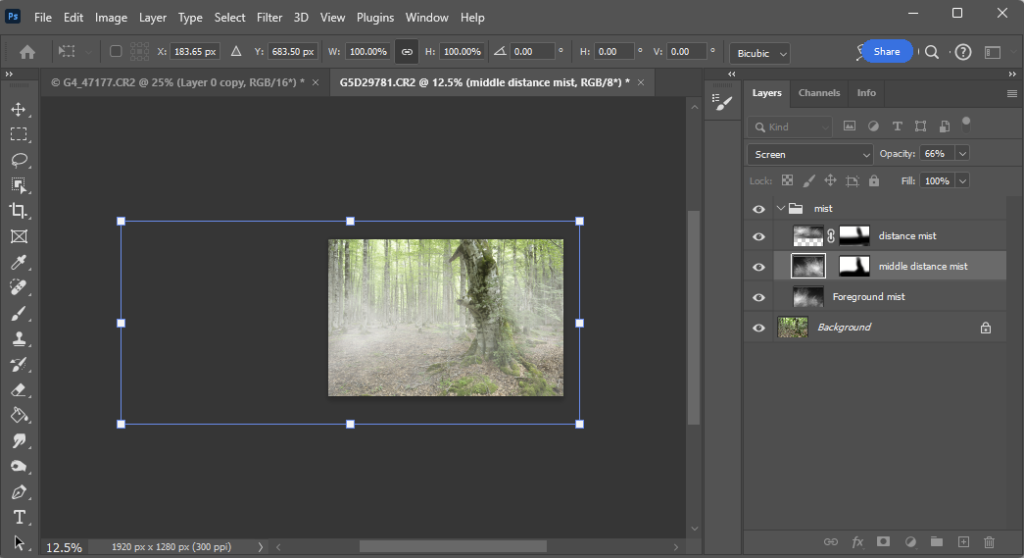
If you add another image (maybe a knight in shining armor in the middle distance would fit this background image) you will need to put that layer behind the foreground mist layer and in front of the background mist layer; or you could put it behind all the mist layers and adjust the masks (more work that way) … anyway, I am sure you can work it all out.
Mist takes many forms
And remember that mists are not all the same. Here are some examples:
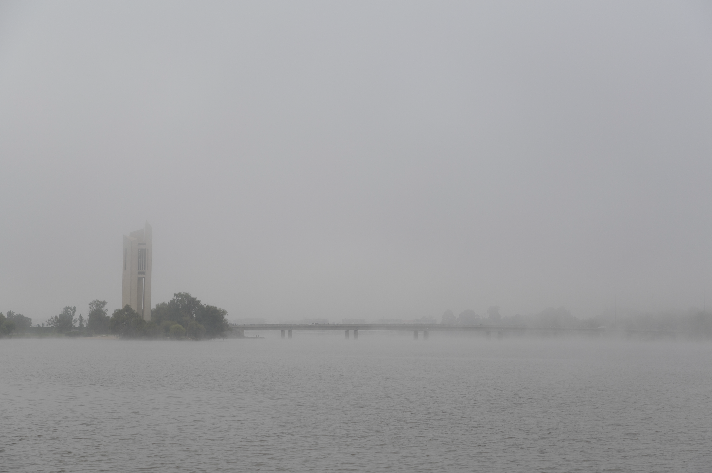
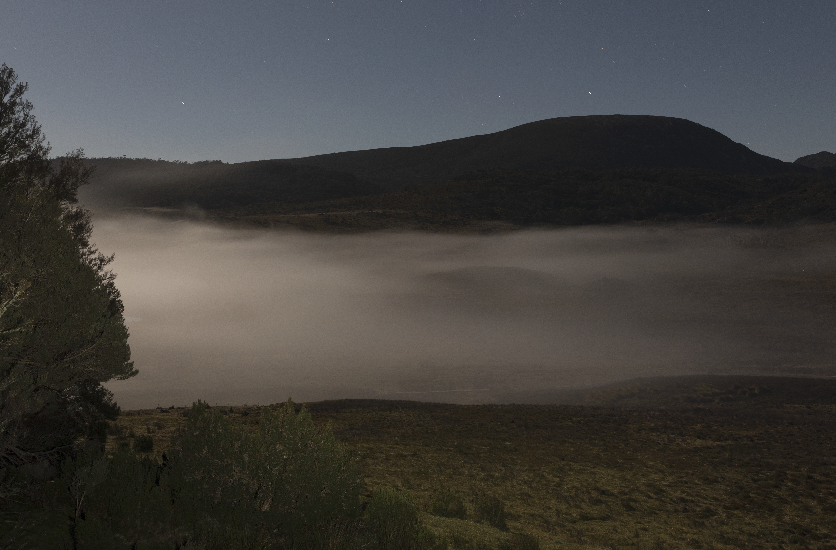
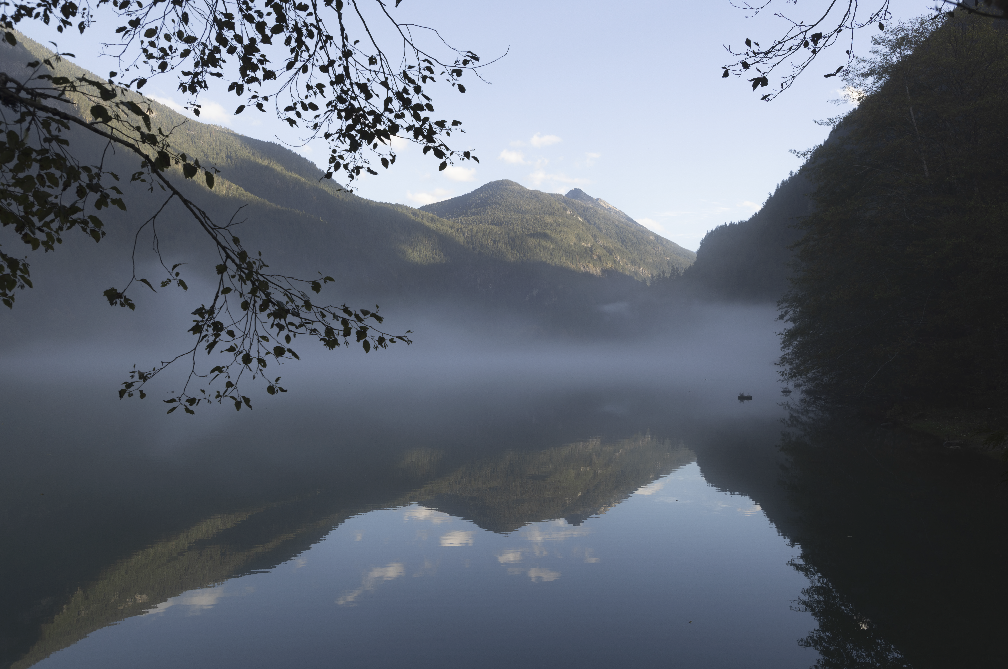
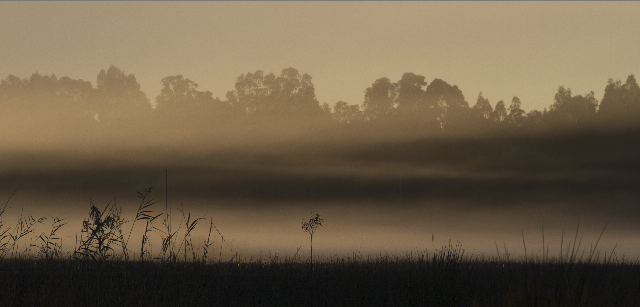
Have fun with your experiments.
Further links
- This approach uses a custom brush – you can download theirs, or, better still, make your own. https://www.digitalcameraworld.com/tutorials/free-photoshop-brush-adds-realistic-mist-to-your-landscapes
- This goes through a whole sequence to generate an other-worldly misty image https://design.tutsplus.com/tutorials/how-to-create-a-misty-landscape-photo-manipulation-with-adobe-photoshop–cms-26406
- Here is another one using Render>Clouds https://en.tutsps.com/how-to-create-a-realistic-mist-photoshop-tutorial/
- or search the web… there are lots of resources
