
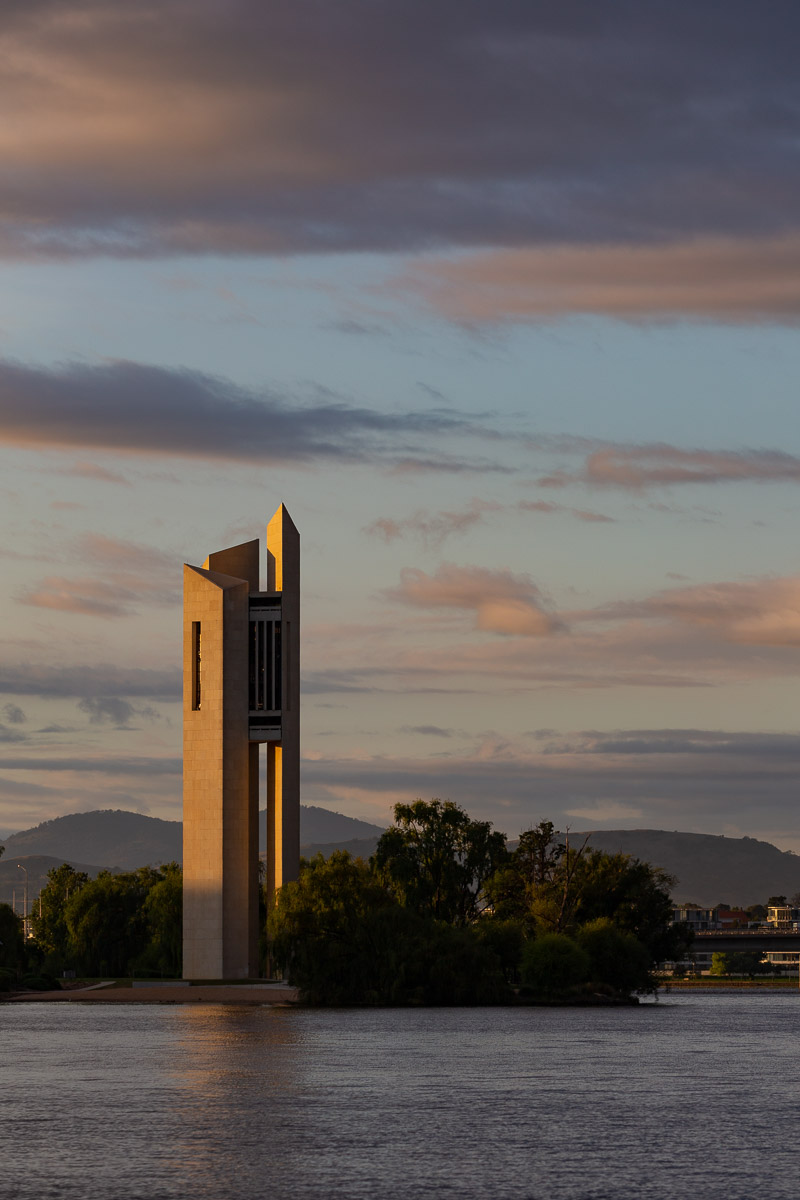
Think about the light on an image. Consider an image with end of day sunshine casting shadows across a landscape/cityscape. The sunlit areas get warm, orangish light, whilst the shadows will be colder, with light from the blue sky. You can exagerate or reduce this effect with split toning, by selectively tweaking the colour balance in the shadows and highlights. This can give your images a cinematic feel (cinematographers regularly use split-toning effects) or selectively bring out colours for added impact.
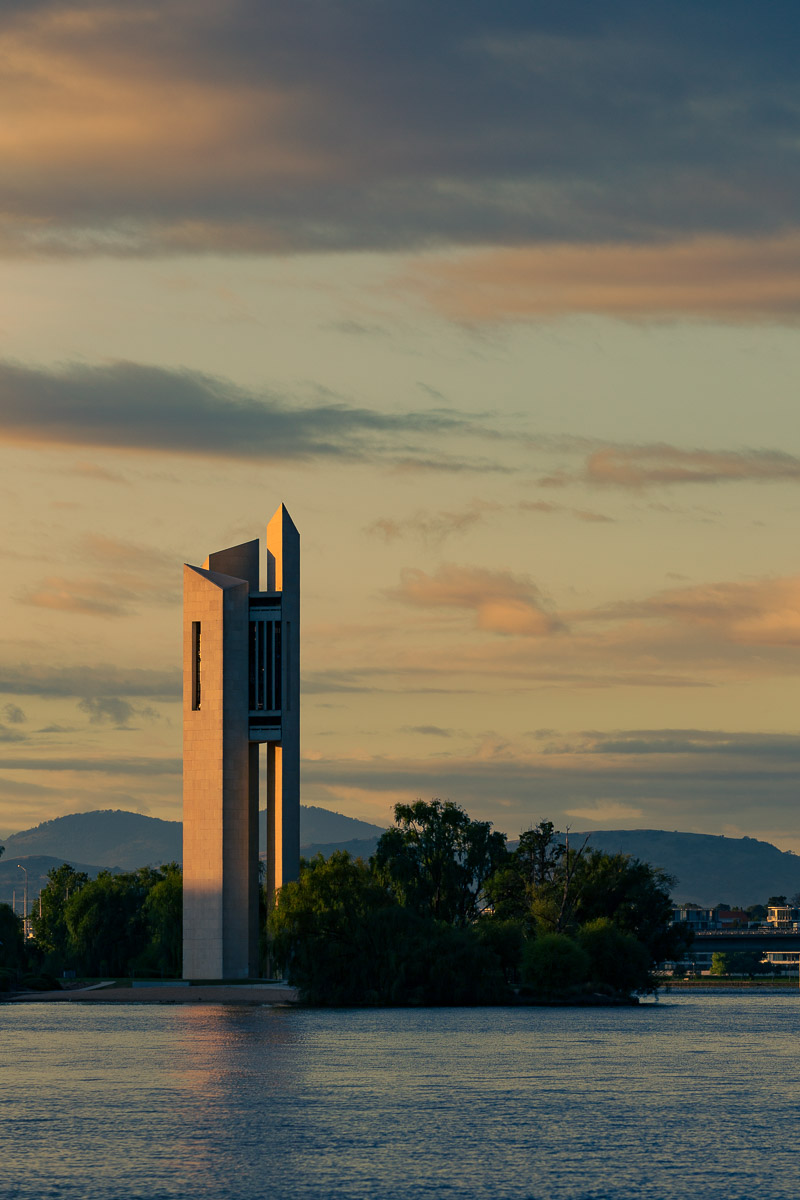
You can use split toning more creatively. For example you may want to add a sunset sky to a landscape you took at midday. Using split toning, you can add warm sunset tones to the highlights and cool the shadows for a more end-of-day look. Perhaps you want to make a street scene you took in the day look like the night. Dial down the exposure, boost the exposure round the street-lights. Use split toning to cool the shadows and add warmth to the highlights you added for the fake street-lighting.
Whatever you use it for, remember that split toning usually works best to make subtle adjustments.
Split toning is built into most image editing packages and generally works in a similar way. Look up instructions for your particular package.
Here are some web-resources that might get you started.
Further reading
Split toning in Lightroom: https://shotkit.com/lightroom-split-toning/
https://digital-photography-school.com/use-split-toning-make-photos-stand/
Here is a video based one https://fstoppers.com/education/guide-what-split-toning-and-how-use-it-lightroom-255547
A more advanced approach https://www.bwvision.com/advanced-split-toning-techniques/