
The displacement map filter is found in Photoshop under the menu items: Filter >> Distort >> Displace. A displacement map moves the pixels of an image by an amount that varies depending on the brightness of another image. I will give two examples below.
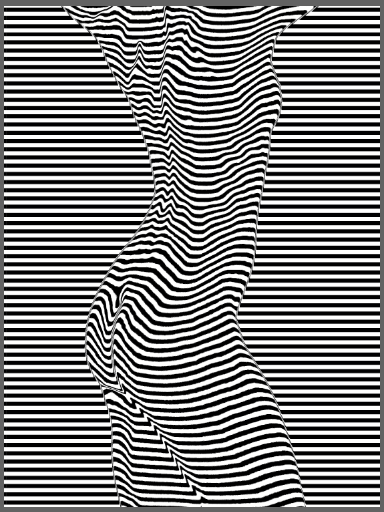
Example 1: Curvaceous 2.
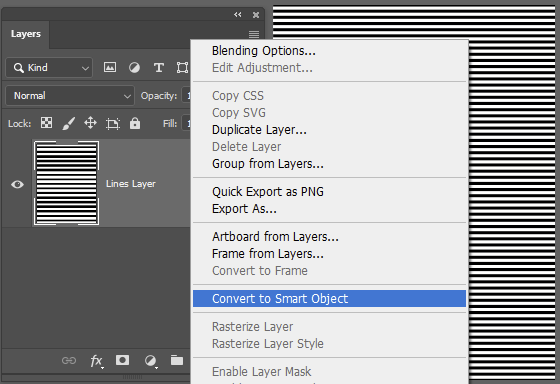
For example 1, I generated a grayscale image comprising a set of horizontal lines. I converted this image layer to a smart layer (right click on the layer name and select Convert to Smart Object) so I can tweak the filter later with the least amount of effort.
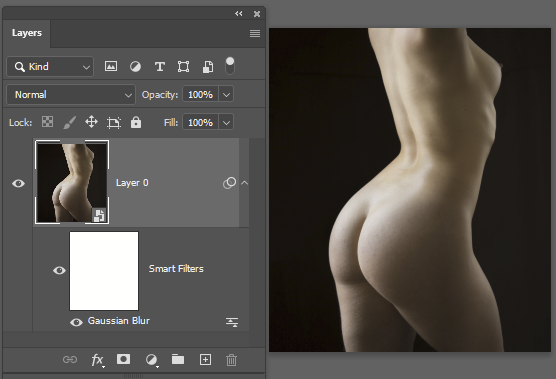
Now organise your source image. I opened this in Photoshop from LR, made it into a smart layer, and saved it as a PSD (Photoshop wants PSD files for the displacement map) in the folder with my horizontal line image (so it is easy to find). Based on past experience, I applied a Gaussian blur filter – without a bit of blurring, the end result can be a bit frizzy. You can play with the filter and adjust the degree of blurring to experiment with the effect on the resulting displacement map image.
Save the modified PSD file and switch back to the horizontal line image.
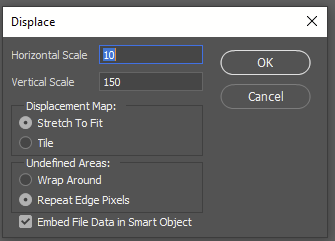
Next, apply a displacement filter (Filter>>Distort>>Displace). Choose the settings. Horizontal scale indicates how many pixels distance the maximum displacement will be in the horizontal direction. Vertical scale … you guessed it. I chose “stretch to fit” in this example, but it wasn’t necessary since the two images used were the same size at the start. The screen grab to the right shows Repeat Edge Pixels but after seeing the effect, I decided the Wrap Around setting was the one to use for this image.
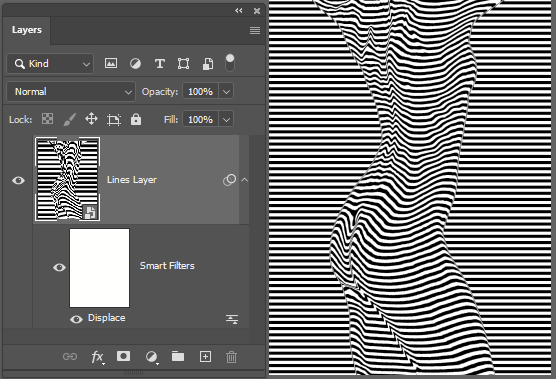
Apply the filter and see what effect you get. If it isn’t what you want try one of the following:
* change the settings of the displacement filter. Increase or decrease the displacement scales etc. Since this is a smart object layer, you can double click the Displace filter for the layer and the filter will open and after applying the new settings, the smart layer will update to the new settings.
* have a play with the image used for the displacement map. Tweak the contrast levels, apply local adjustments, apply artistic filters etc… to adjust the source (if you are using smart layers the edits and filters will be non-destructive so you can try out lots of settings quicly. Unfortunately you will need to re-apply the displacement filter in the other image to see what effect the tweaks to the displacement map have had.
Example 2: A woodland scene
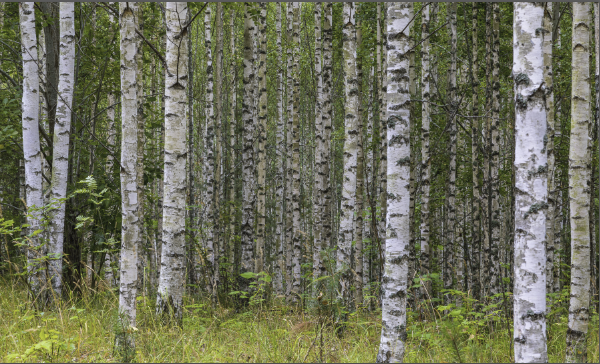
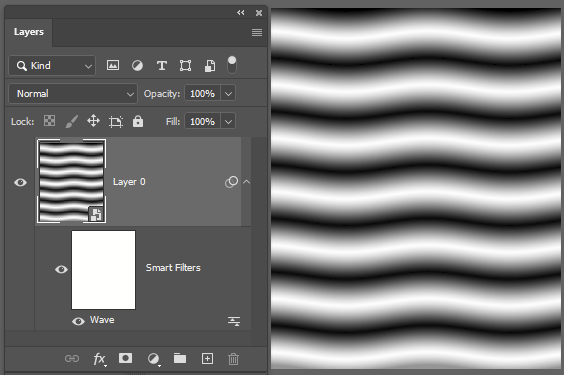
Here I have a bit of Scandinavian woodland. Just for fun, I am applying a wavy displacement map image. For this I made repeated gradients to make horizontal stripes, then added a wave filter to give it a bit of wobble in the vertical direction. Since this image is already blurred, there was no need to apply a Gaussian blur filter to smooth out any jagged bits.
Switching back to the woodland I apply a displacement filter – actually I added two, one 5pixel horizontal displacement with the horizontal lines, then added another displacement with the wavy version (you can see two Displace filters under the Smart Filters:
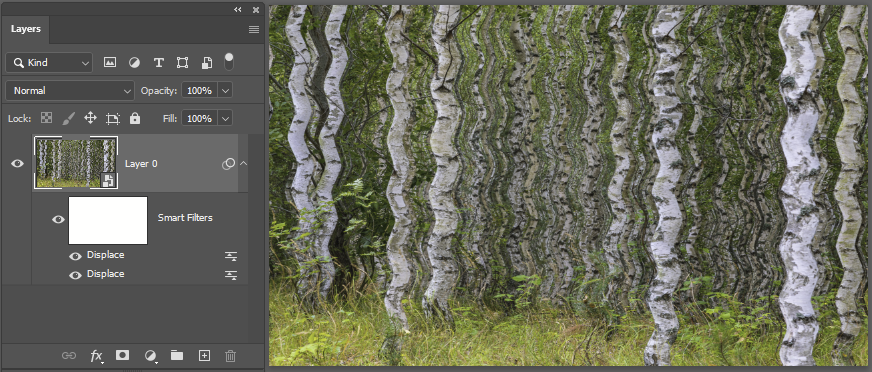
OK, so this isn’t going to win a prize, but hopefully it serves to illustrate the approach.
Here are some other ideas. Use a displacement map to apply a canvas texture or other texture to your image (use an image of canvas, tree bark, something else as the displacement map image); make a reflection on water by applying a displacement map to generate distortion to match the waves in the water; make colour or pattern overlays wrap round a shape using a distortion map.
Further references
- http://www.psd-dude.com/tutorials/resources/displacement-map-filter-photoshop-tutorials.aspx gives lots of examples of ways you can use displacement maps.
- Adobe’s help area seems to miss out on much detail, but there is a bit here https://helpx.adobe.com/photoshop-elements/using/distort-filters.html
- Here is an example of wrapping a texture around a face https://www.discoverdigitalphotography.com/2012/photoshop-tutorial-how-to-apply-a-texture-to-a-face-by-using-a-displacement-map/
- or search the web for more…