
Introduction
Making photobooks or calendars for the first time can be daunting. There are many suppliers, all with their own systems, usually either a desktop computer application that you download, or an online web-based system. In my experience these systems are often quite clunky, particularly if you want to make complex layouts with multiple images, text boxes and layout elements (borders, drop shadows etc). What I realised was that you can avoid most of the stress by using layout software you are probably already familiar with, namely Powerpoint (or LibreOffice Impress, a free alternative to PP).

My approach is as follows:
- Create a blank presentation with the correct dimensions to match your book/calendar page size
- Duplicate the blank page to generate the necessary number of pages for your project (don’t forget the front and back cover).
- Lay out your pages – note that it is often safest to assume that there will be a few mm variation in where the printer will guillotine the pages, so leave a little “safety” space on the margins – i.e. don’t put critical elements on the borders.
- Once you have all your pages as you want them, export/save the presentation as JPEG files. Powerpoint (recent versions) will generate high resolution images. Old versions of PowerPoint may be a bit limited unless you apply some tweaks.
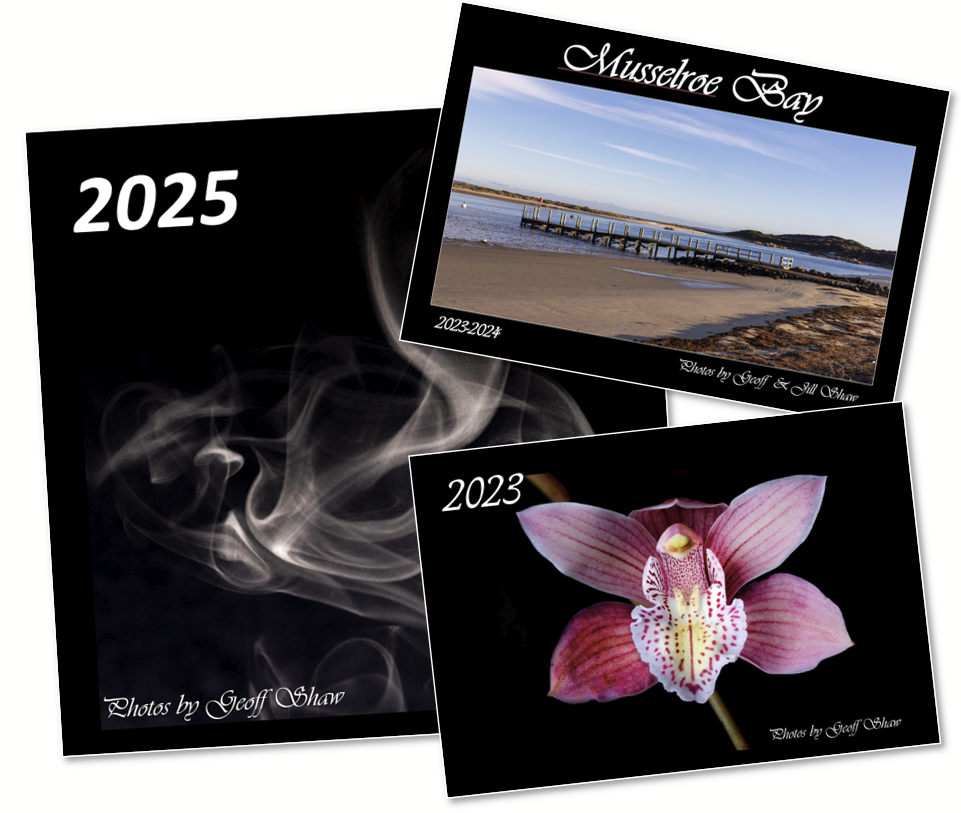
- You now have a set of quality JPEG files, one for each page, with all the layout elements in place. I usually have either white (book) or black (calendar) page backgrounds. I recommend you use the print service system to change (if needed) the page background to match the background page colour. That way if there is any mismatch/misalignment of the page images relative to the page, you won’t see it. Now. simply add each JPEG to the corresponding page of your book or calendar. It is so much easier to make the pages using a single image per page. You will probably need to adjust the image to stretch to cover the page, but that is quick to achieve.
- Save the project every few pages, in case something glitches.
- Preview the project before you commit it to print.
A couple of things to consider.
Page size
Sometimes the nominal page size doesn’t actually match what you get back. For example an A5 soft cover book I made once had finished pages that were 20 cm wide not the 21 cm you might expect. I guess something was lost in the binding/trimming. Luckily I allowed enough margin that it wasn’t a problem. These days I generally open the online page design software and do a screen grab (see below). I can then measure the dimensions of the page on the screen grab in pixels and use the width/height ratio to set a more accurate page dimension in PowerPoint/Impress (or just measure it on your screen, assuming your screen has square pixels).

Cover Pages
Depending on the provider and how their software works, it is sometimes easier to make the Cover in a separate file that has pages about twice the width of single pages. Then I can add text lettering on the spine in the centre of the page, as well as the front (right hand side) and back cover (left hand side). Place this double width image on the Cover layout page and drag it to fill the double page spread. Alternatively, in some software it is easy just to add the text as a text element separate from your page layout, in the central column (the software will probably give you a placement guide on the layout page)
Double page spreads
You may want to have images spread over two pages. Bear in mind that unless you are ordering a “lay-flat” book, you will lose some of your image in the binding (see image above). If you want to minimise the number of images you have to add to compile your book, you could also make all the “pages” double width, leaving appropriate gaps for the binding in where you position your text and images. then place the double page spread image to fill the double page layout in the software. Note that if you want page numbers, it becomes a challenge, as the automatic numbering won’t give you sequential numbers on both sides of your double spread layout.
Printers
There are lots of printers out there. I generally use BigWPhotos or HarveyNormanPhotos (both use the same Fujiprint systems), as they are very cost-effective if you wait for specials (fairly frequent). Delivery to a local store is free which cuts down the price too – it makes a difference if you make lots (I make several dozen calendars each year for family, friends and neighbours). Photobookshop.com.au offers similar quality (if you choose the more expensive paper option) They do put intrusive self-advertising barcodes on the front of their calendars. Photobookshop generally include postal/courier delivery in their prices. There are a wide range of other printers, with a range of prices and quality, but I won’t comment on any others as I have not tried them out.
My experience with the printers I have used is that if something is mis-printed (misalignment, colours wildly inaccurate etc) they will repeat the job for free so you get what you paid for. Caveat – these comments are my experience up to the time I write (2025) and things may change in future. Caveat emptor — it is often a good policy to search out reviews/feedback to see what the consensus is on any particular supplier (but look out for fake reviews).