
Raster vs vector layers
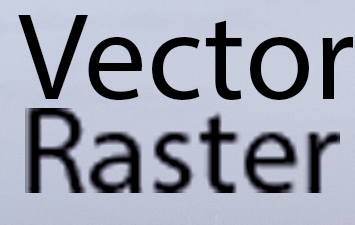
500%) whilst a rasterized type layer looks fuzzy when
enlarged by the same amount.
A raster layer contains pixels. These are the normal layers you use with photographic images. The resolution of the detail is determined by the pixels. If you transform, for example enlarging, the edges will get blocky or fuzzy depending on how your software interpolates new pixels. Raster layers contain geometrically defined shapes – for example a type layer, or a vector shape drawn with the pen tool in Photoshop. If you enlarge these, the edges remain crisp because the software uses the maths of the curves to generate new pixels according to the vector shapes.
If you are making composite images, the same issues can apply if you paste in parts from other images. If you shrink them, pixels are lost as it interpolates to the new size, then if you later enlarge them, your inserted image might appear fuzzy. If you want to avoid this, after pasting a new layer, in Photoshop convert the layer to a smart object. It will then retain full resolution internally, as you resize it. Photoshop will simply interpolate the appropriate pixels to show for the image resolution. If you resize, PS will make a new interpolation for show, whilst leaving the original image pixels unchanged.
Smart object layers for non-destructive editing
As noted, smart objects allow you to transform – scale, skew, distort, rotate or warp a layer without losing any of the original image quality. In addition, an adjustment applied to a smart layer does not change the original layer pixels, it just changes how those pixels are presented. If you want to view the results and change the filter settings, you can do so as many times as you like without accumulating artefacts as you would with a normal vector layer. You can even make linked copies of a smart layer – say you want 3 seagulls in the sky and you just have one seagull image to start with. Make it a smart layer, duplicate it twice. Reposition each seagull copy to a suitable location in the sky. Use transformations – warp etc. to change the shapes a little so they don’t look identical. Perhaps go back and tweak the distortions or the scaling. Photoshop internally only keeps one copy of the original seagull, and uses this for all 3 layers to apply the movements, and shape transforms to generate the final composition. Instead of your file containing 3 raster layers of seagulls, it only has one, which can save a lot of file size.
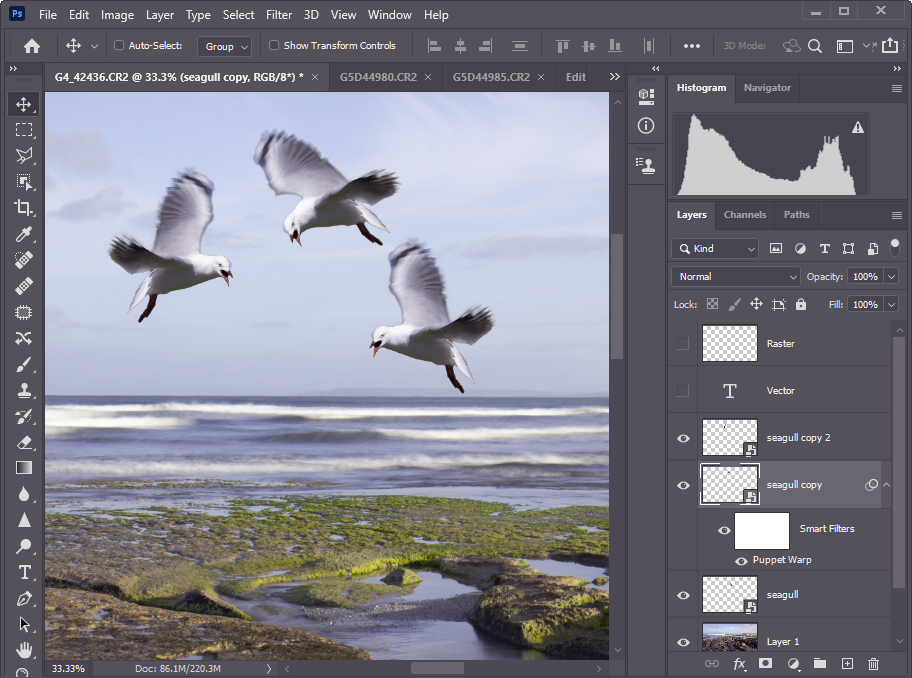
On the image above I have duplicated a smart layer to make 3 birds. Applied some transforms to alter the orientation and rotation, and also applied a puppet warp to change the shape of the wings on the layer Seagull Copy. Note that since this is a smart layer, the puppet warp shows up under the layer as a Smart Filter, so I could go back and tweak the puppet warp later if I am not happy with the shape of the wings or body.
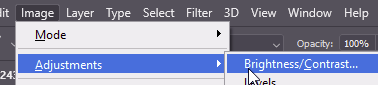
Adjustment layers
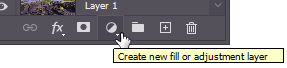
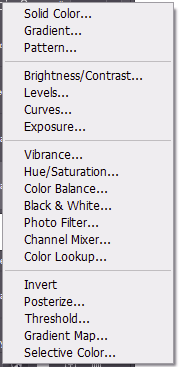
Adjustment layers can be added using the adjustment layer tool at the bottom of the layers panel. Many adjustments are available to tweak the tonality and colour. The adjustment layer is added above the currently selected layer and by default applies to all the layers below. However you can limit the effect to just the layer immediately below by ticking the icon indicated by the “hand” cursor on the screen grab below, where I have added a brightness/contrast adjustment layer to brighten the wings of the left-most seagull. I have clicked the setting for just the layer below, and applied a layer mask that masks (black) everything except the wings on the bird (white patch on mask), so the head is not brightened.
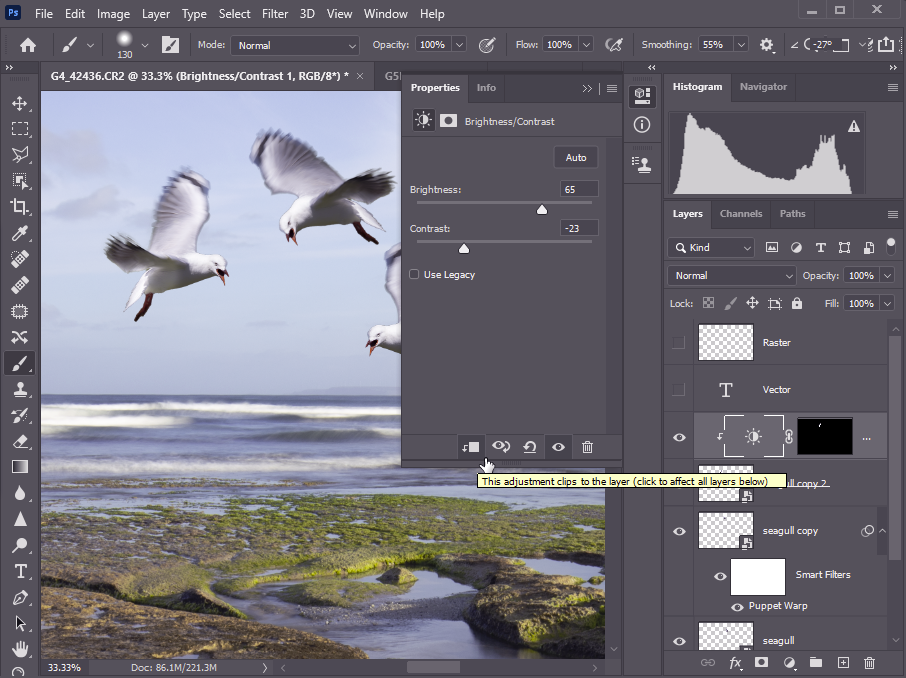
Note that I chose to use an adjustment layer. I could have used the menu to make the same adjustment, but that would have adjusted all of the underlying layer (and just that layer), and done so destructively, so I could not go back later and adjust the filter settings.
Layer masks
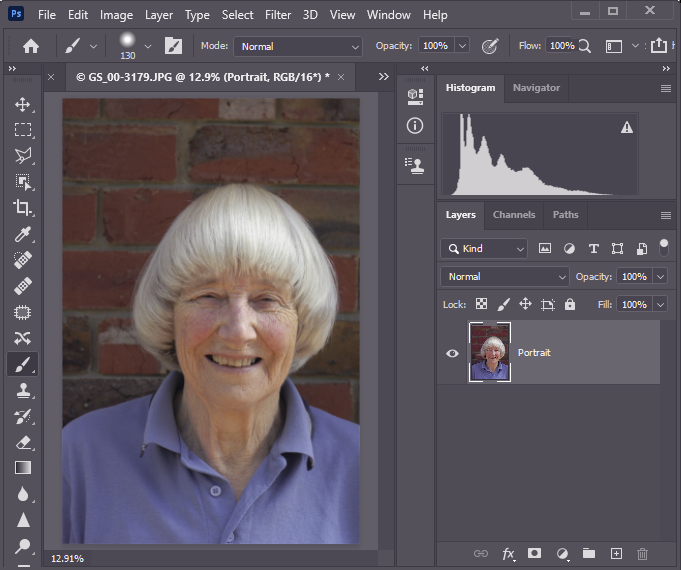
Layer masks control which parts of a layer are visible and which are hidden (transparent). Here is an example. One might consider the brick wall behind the face to be a little boring. Let’s change it for something more exciting.
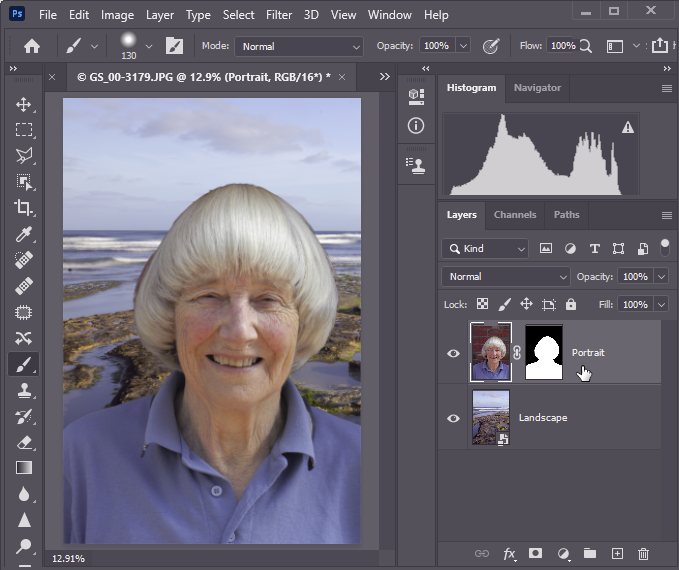
I found a landscape and pasted it in below the face layer. Now, I could have erased the brick wall parts, so the landscape would show through, but instead I have selected and masked the face layer. Note the mask. White where we want the layer to show, Black where we want transparency, allowing the landscape background to show through. OK the selection round the head was a bit dodgy, but you get the idea. And if I want to put in the effort, I can tweak the mask to better refine the edge. I can select the mask then use the paintbrush tool to add white where I want transparency or black where I want.
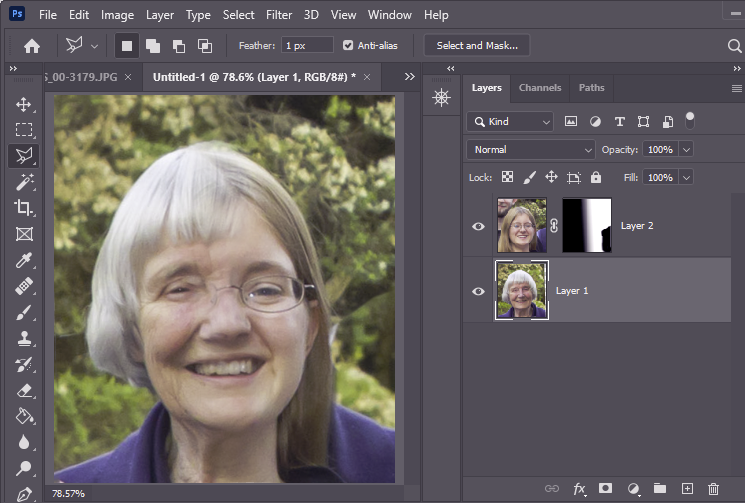
Below is another example. Here I have blended grandmother and granddaughter portraits for this demonstration. I’ve used a mask with a graduation between white and black over the middle of the faces to create a smooth blending rather than a hard like of demarcation. You can paint on a mask with grey, or use a brush with a low flow to make softly blended mask edges too, or make them using feathered selections.
Masks can be much more flexible than these simple examples. In future I will post on Luminosity masks and other masking techniques.
Tip: if you have a mask, Ctrl-Click on the mask thumbnail to make a selection that matches the mask.
Tip: if you have made a selection, clicking the add layer mask icon at the bottom of the layers panel will make a mask matching the current selection.
Tip: if you want to duplicate a mask onto another layer, Alt-drag the layer mask thumbnail and drop it over the other layer.
Layer Opacity
Sometimes you may want the effects of a layer to be toned down. For example, you may have, say, an adjustment layer that you have applied but the effect is too strong. You can reduce the opacity of that layer to reduce the adjustment effect.
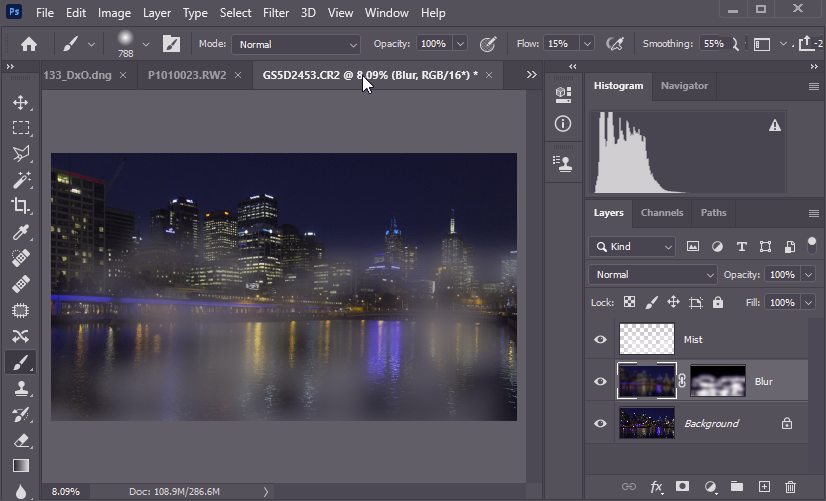
Another example, perhaps you want a mist-like effect. Make a new empty layer. Make a soft large white paintbrush with a low flow. Paint on the new layer where you want the mist to appear. Adjust the opacity of the layer to let some of the background bleed through to give the effect you want. Here is a very quick and dirty addition of some “mist” to a night shot from Southbank that I did just to illustrate this. By reducing the layer opacity the city lights shine through the “mist”. Really I need to add a blur layer, masked by the mist density, to give the lights through the mist a more natural fuzziness … and so on. Something for you to experiment with.

Really I need to add a blur layer, masked by the mist density, to give the lights through the mist a more natural fuzziness … and so on. Something for you to experiment with. Ok, here is another quick and nasty, with a blurred layer masked by the mist density. Not perfect, but hopefully you get the picture.
Blending Mode
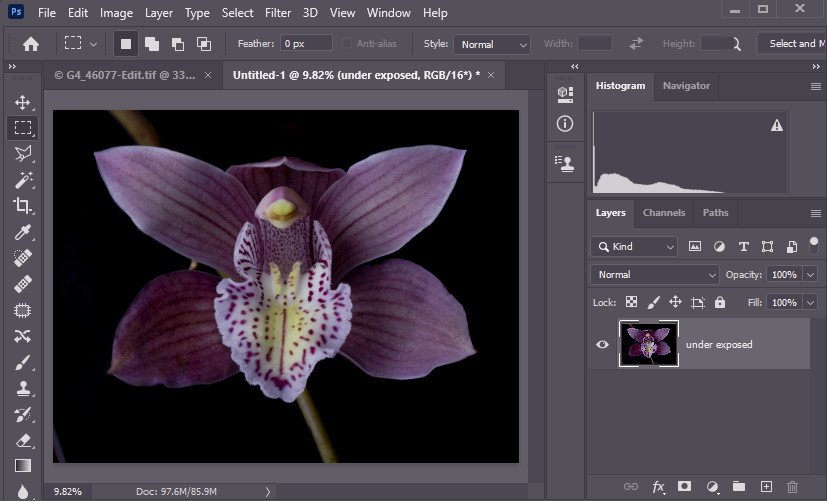
Photoshop and similar programs provide a diversity of layer Blending Modes. These can be used for many different uses. Here is an example. The image below was a little dark. By duplicating the layer, and changing the blend mode to Screen we have produced a much better tonal range. Have a play with blending modes on your own image to see how it affects the interaction between a layer and the underlying layer(s). I’ll make a Blending mode post later to explain in more detail how you might use them.

Layer Styles
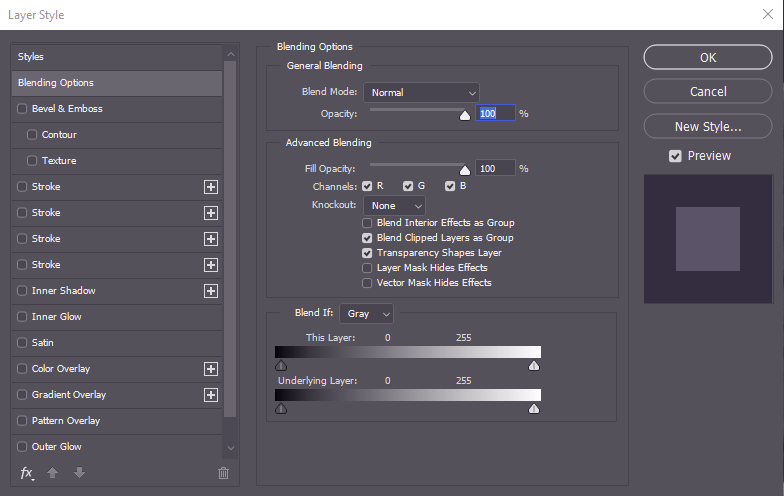
The layer styles dialog (double click on the layer thumbnail image) provides many options. Of particular note are Blend mode, Opacity (both also available at the top of the layers panel) and the Blend If, which can control which bits of the image are transparent based on the current or underlying layer. In some cases this can replace or supplement making a mask. There are also Blending Options including Stroke, Glows etc.. There is too much for this section so I will make separate posts on these various Layer Style features.
Further Reading
- https://en.wikipedia.org/wiki/Layers_(digital_image_editing)
- https://helpx.adobe.com/photoshop/using/layer-basics.html
- https://helpx.adobe.com/photoshop/using/blending-modes.html
- https://digital-photography-school.com/beginners-introduction-using-layers/
- https://digital-photography-school.com/understanding-layers-in-photoshop/
- Blending modes
- Blend If