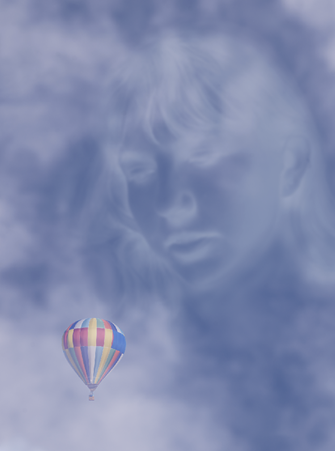
This How-To covers Stephen Hilton’s approach to create his image Face in the clouds.

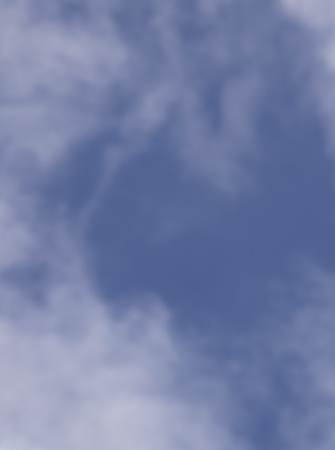
Start with a sky as your background layer (below). If the clouds are little dull, brighten them up with a curves or levels adjustment. Tip: I found it best to have a patch of sky with minimal cloud for overlaying the face as it made the face stand out better.
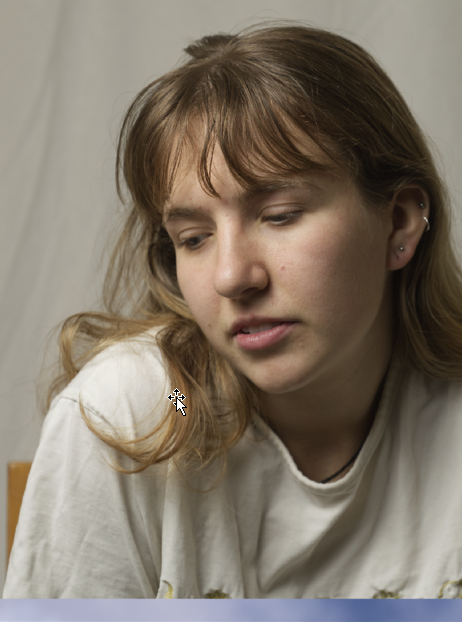
Paste a face into a new layer. Tip: you can lower the opacity of the face layer to help you position the face in the desired position.
Apply an “Invert” adjustment to the face layer, followed by a “Black and White” adjustment.
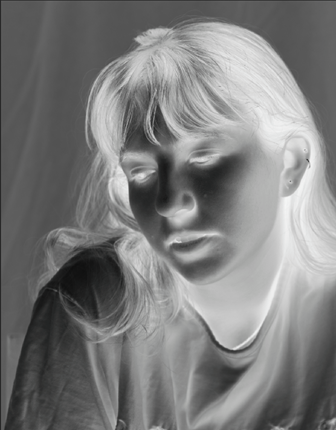
Set blend mode to “Screen” and lower the opacity to taste (in my case, about 40% opacity).
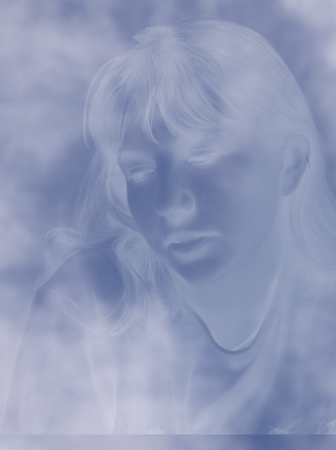
Apply a Gaussian blur adjustment (in my case, about 7 pixels).
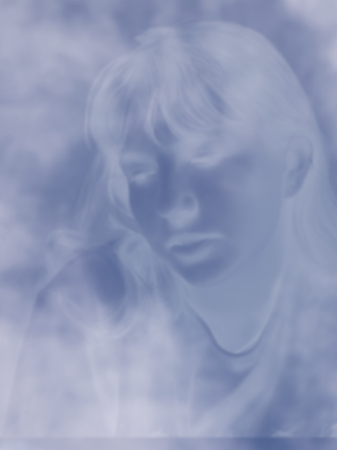
- Add a mask to the face layer.
- Select brush tool.
- Set to black brush, low flow, low hardness (I used 5% flow and 0% hardness)
- Gradually paint out unwanted areas by painting onto the mask with the black brush. Tip: if you make a mistake, change brush colour to white and paint onto the mask.
- Select brush tool.
- Set to black brush, low flow, low hardness (I used 5% flow and 0% hardness)
- Gradually paint out unwanted areas by painting onto the mask with the black brush. Tip: if you make a mistake, change brush colour to white and paint onto the mask.

You may need to tweak the white balance of the cloud layer to match the face. Mine was pretty close and the adjustment was barely noticeable.
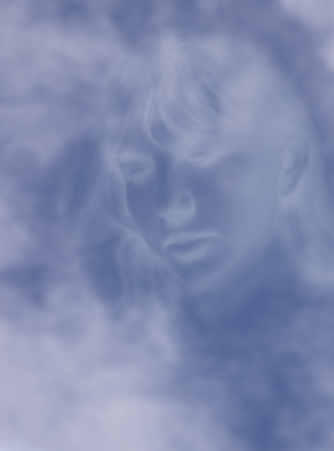
You can use a soft, white brush on the background layer to fill in the cloud if there are any gaps. I did some very subtle adjustments here.
Add the balloon on a separate layer to get the final image