
So you spent years learning how to shoot images in focus? Just for a change here is how to make an intentional blurred image such as the one below

Source images- demonstrating you can make something out of not much!
An outline of the steps taken:
- First select an image (or images) that you think will work. A wide angle image with a point of
interest you can reintroduce in a masking step is a good start - Perform basic black/white point adjustments and ensure the buildings are straight (lens
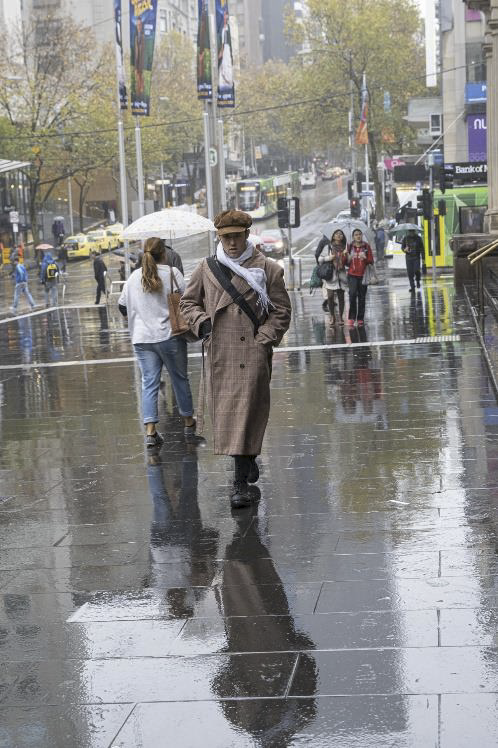
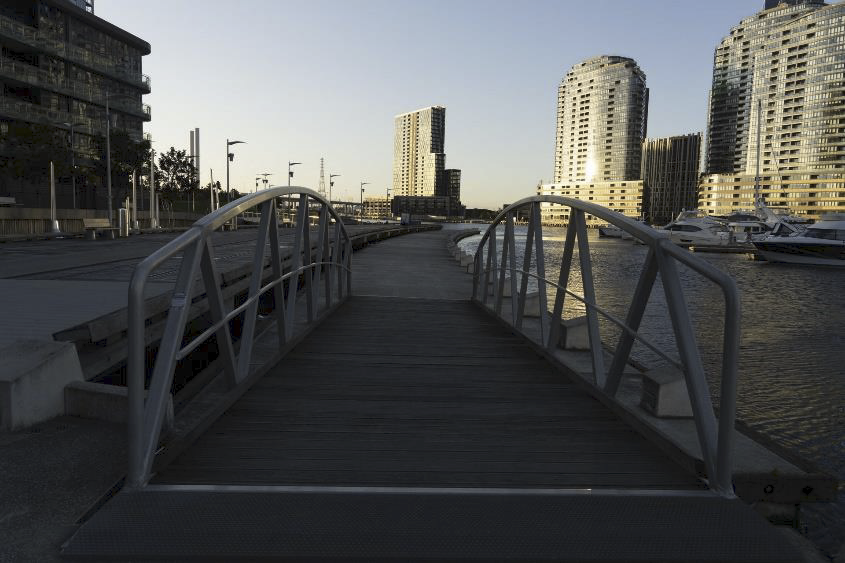
correction) - This technique uses photoshop- the first step selected the man from a wet day in Melbourne
and pasted and positioned him in the walkway image taken at a club outing to South Wharf.
Remember to include reflections or shadows if you have them in the original image. In the
case of the man it was a reflection - Duplicate the layer that now contains the man and background and convert it to a smart
object (right click on the layer- convert to smart object). This ensures you can still see the
settings you use and can make alterations - To create the blur I used filter/blur/motion blur. The setting was 1267 pixels at 90O
- I then added a mask to the layer and masked out the effect in the foreground as I wanted
the image to be grounded - I then duplicated the layer in step 4 again (before blur), added it to the top of the layer stack
and added a black mask to bring back the blurred layer. I then painted in white on the mask
to bring back areas that I didn’t want to see blurred eg the man and the railing leading into
the image - Final step was to convert to B&W using Nik software and darken areas on the edges
Enjoy having a go at this
Vicki!